Recently, I decided to create a custom semantic versioning GitHub workflow because my team was previously using Google’s release-please. Although release-please is good at automating the release workflow, it didn’t quite fit our needs. Specifically, we needed it to create a draft release instead of publishing a release immediately after the release PR was merged into our main branch. While release-please had a configuration option for draft releases, it proved to be buggy and behaved unexpectedly. Consequently, we couldn’t trust the automation to work as we needed. Additionally, we faced issues with our engineers remembering to use conventional commits, which the tool requires. Given these challenges, it made sense to develop our own custom tooling.
To address this, I worked on creating a custom semantic versioning workflow. The current iteration of the project involves two JS scripts:
- bump_version.cjs – This script bumps the version of a repository’s
package.jsonandpackage-lock.jsonbased on the type of bump the user manually selects from the GitHub action (patch, minor, or major). - update_changelog.cjs – This script updates the
CHANGELOG.mdwith commits since the lastchore(release):PR was merged, as well as the date when thebump_version.ymlaction was run.
The workflow includes two main components:
- bump_version.yml – This manual workflow is triggered when a user selects patch, minor, or major from a dropdown in the GitHub UI (this generates a release PR that bumps the package files and updates the
CHANGELOG.md):
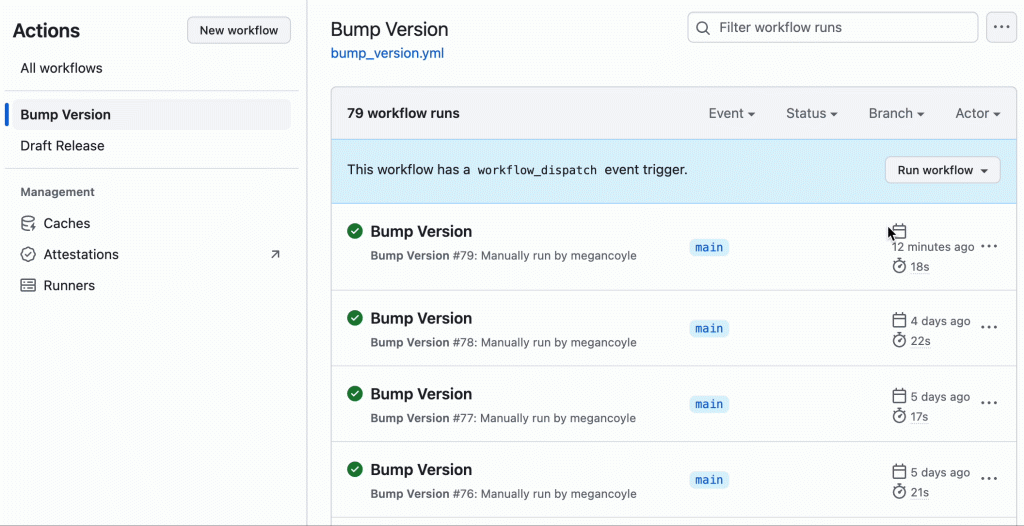
- draft_release.yml – When the release PR is merged, this action is automatically run to create a draft release with the title and tag matching the new bumped version number.